
 Hootsuite is the largest social media integration and management platforms on the internet. It’s sent over 700 million messages to date and has over 3 million registered users. It accepts a wide range of social media platforms, including Google+, Facebook, Twitter, FourSquare, Mixi, WordPress and more.
Hootsuite was founded by Ryan Holmes in 2008 and was valued at $200 million in its last fundraising round, as of March 2012.
Hootsuite’s features include:
- Easy view of all your contacts. Hootsuite will display their follower and following count, as well as their Klout score all in one screen.
- Self-branded analytics reports. You can do complex analytics reports, put your own logo on it and send it to your clients as a self-generated report.
- Schedule messages to be sent days or weeks in advance.
- Create a wide range of different feeds and view them all on one screen. You can create feeds from mentions, retweets, direct messages and more.
- Share your Hootsuite account and social media accounts with different members of your team. This makes execution of a complex social media strategy much easier. (Requires paid subscription.)
Hootsuite is used by many world class organizations. It’s used by TheGap, Facebook’s own social media team, Obama’s white house administration, the South by Southwest conference and more.
Here’s how to use Hootsuite to manage your social media.
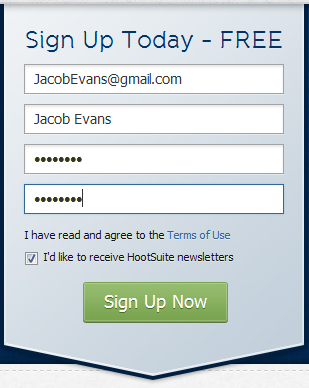
Step 1: Sign Up for Hootsuite
Start by filling in the signup box on the front page.
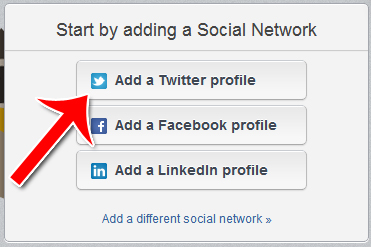
Step 2: Add a Profile
Add a profile. To add a Twitter account, click “Add a Twitter profile.”
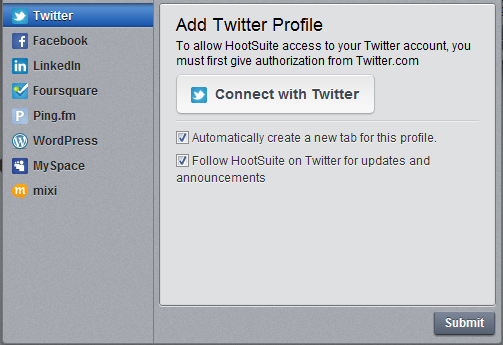
Click “Connect with” Twitter to create the connection. You can also choose to add a less mainstream social network on the left.
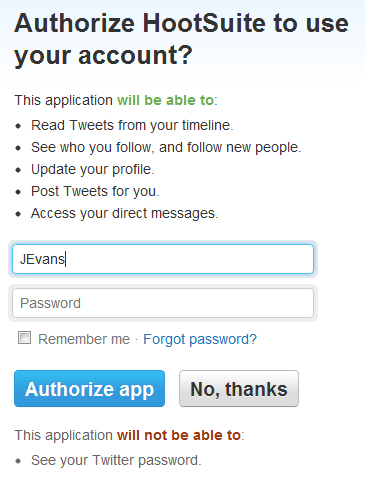
Hootsuite will need authorization before it can link up your accounts.
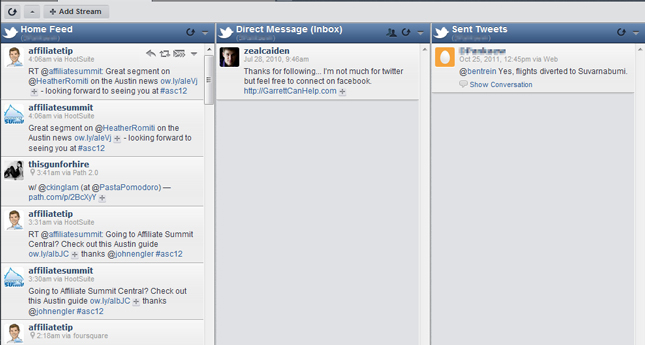
Step 3: Browse Your Feeds
To browse your feeds, select the social media account from the top subnavigation bar.

The various feeds associated with that account will be displayed. You can drag and drop these feeds in any order you like.
Step 4: Adding a Stream
To add a new stream, click “Add Stream” in the upper left corner.

Then choose what kind of stream you want to add.

The new stream will be added to your dashboard.
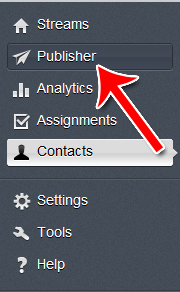
Step 5: Publishing and Scheduling
To access the publisher screen, click “Publisher” in the left sidebar menu. Hover over any symbol on the left to make the menu popup.
Click “Compose a Message” to begin scheduling messages.
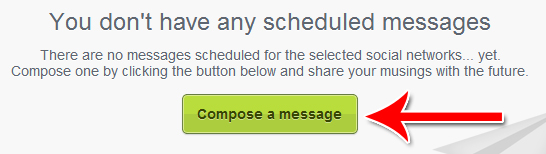
The message box and the scheduler will pop up. Just write your message in the box, then choose when you want the message to go live.

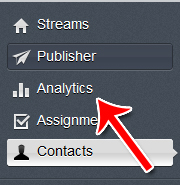
Step 6: Analytics and Reports
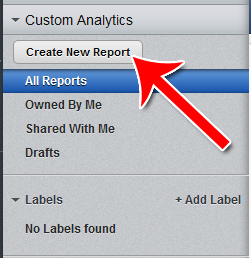
To create a new report, click “Analytics” from the left sidebar.
Once you’re in the reports tab, click “Create New Report.”
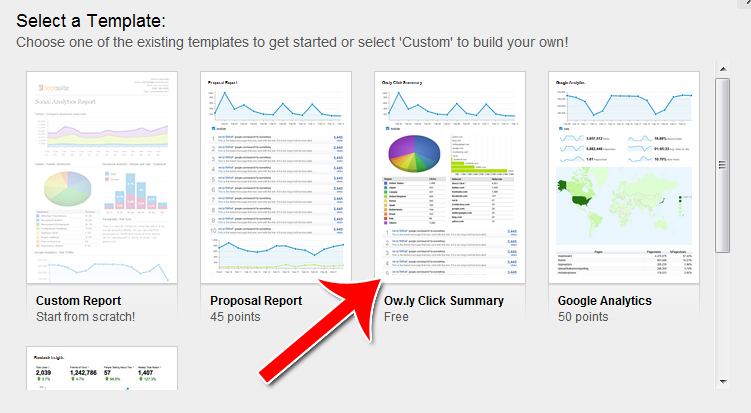
Then select the type of report that you want to create. Some reports are free to create, while others require payment.
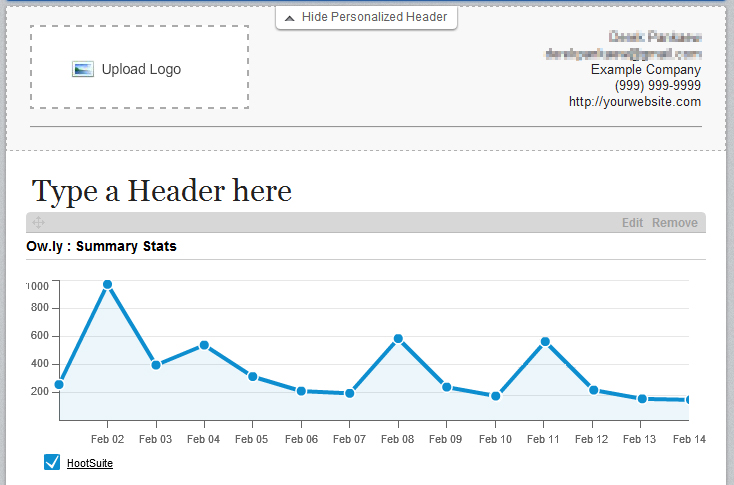
You can then brand the report yourself, so that your name and your company’s logo appears on top of the report.
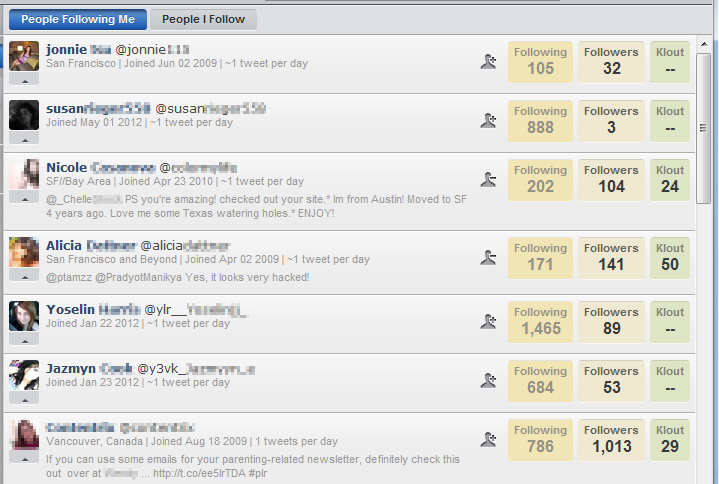
Step 7: Contacts
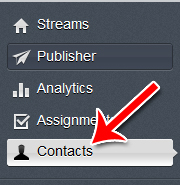
To access your contact list, click “Contacts” from the left navigation bar.
All your contacts will be listed, along with their follower count, following count and Klout score.
Now you know how to use Hootsuite to view multiple feeds, schedule posts for the future, generate branded reports and browse your contact list in an information-friendly manner. Hootsuite is free for the most part, with only a few features requiring payment. If you’ve never tried it before, why not give it a shot?